12V Mini Spot Welder for 18650 Battery – Automatic Control
Original price was: 2,000.00 EGP.1,700.00 EGPCurrent price is: 1,700.00 EGP.
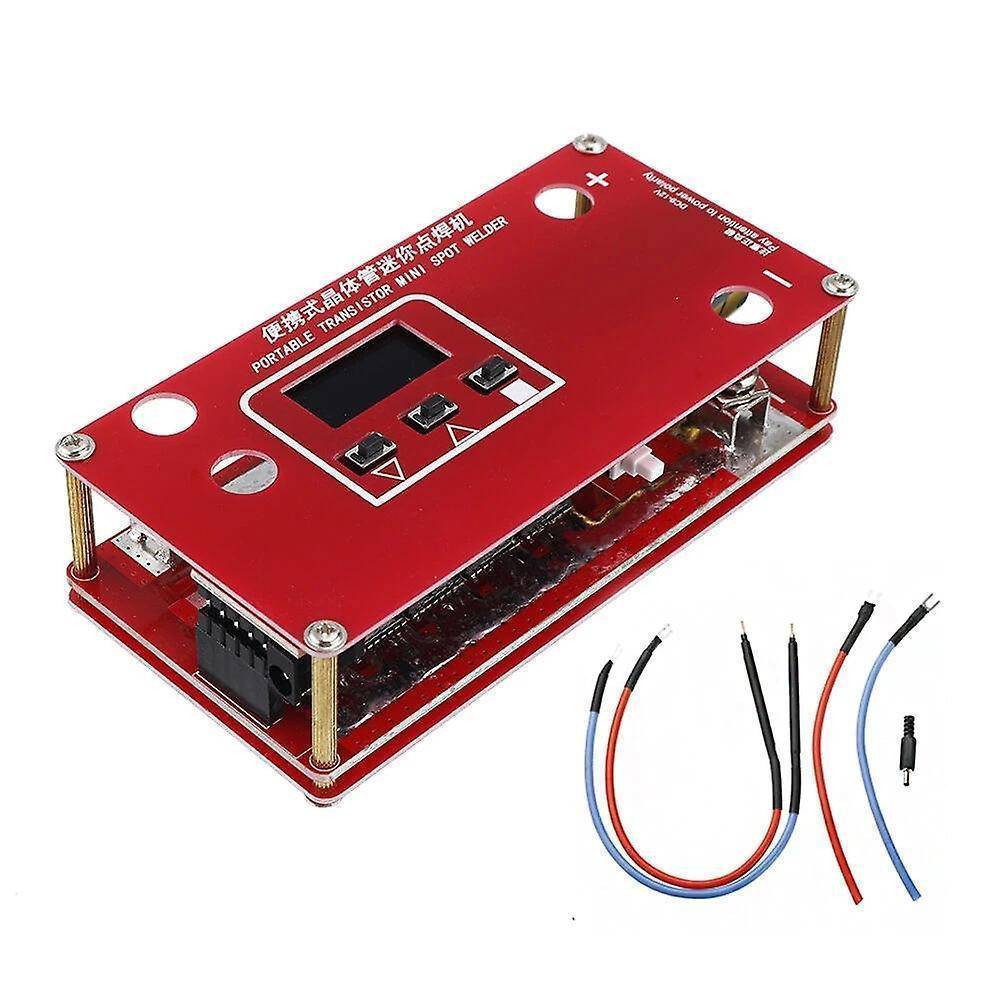
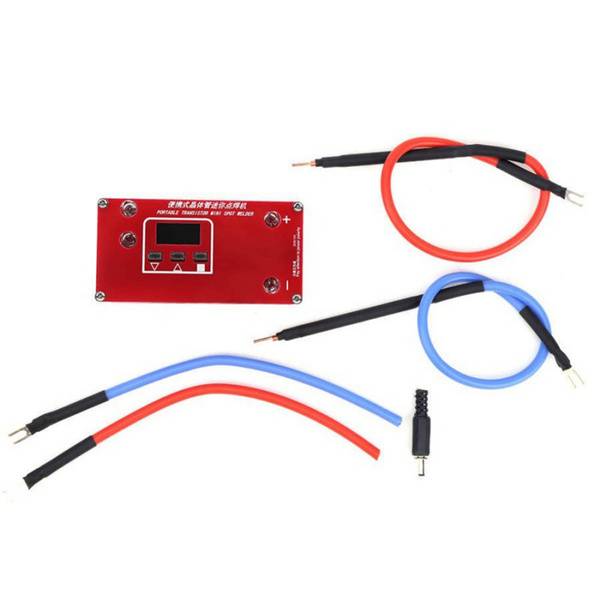
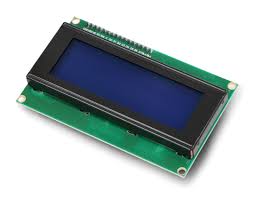
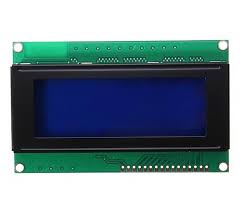
This Portable Transistor Spot Welder is designed for fast, precise welding of 18650, 26650, and other lithium battery cells. Featuring an intelligent LCD display, adjustable power control, and ultra-fast pulse welding, it’s perfect for DIY power banks, e-bike batteries, RC models, and electronics repair.
Description
12V Mini Spot Welder for 18650 Battery – Automatic Control
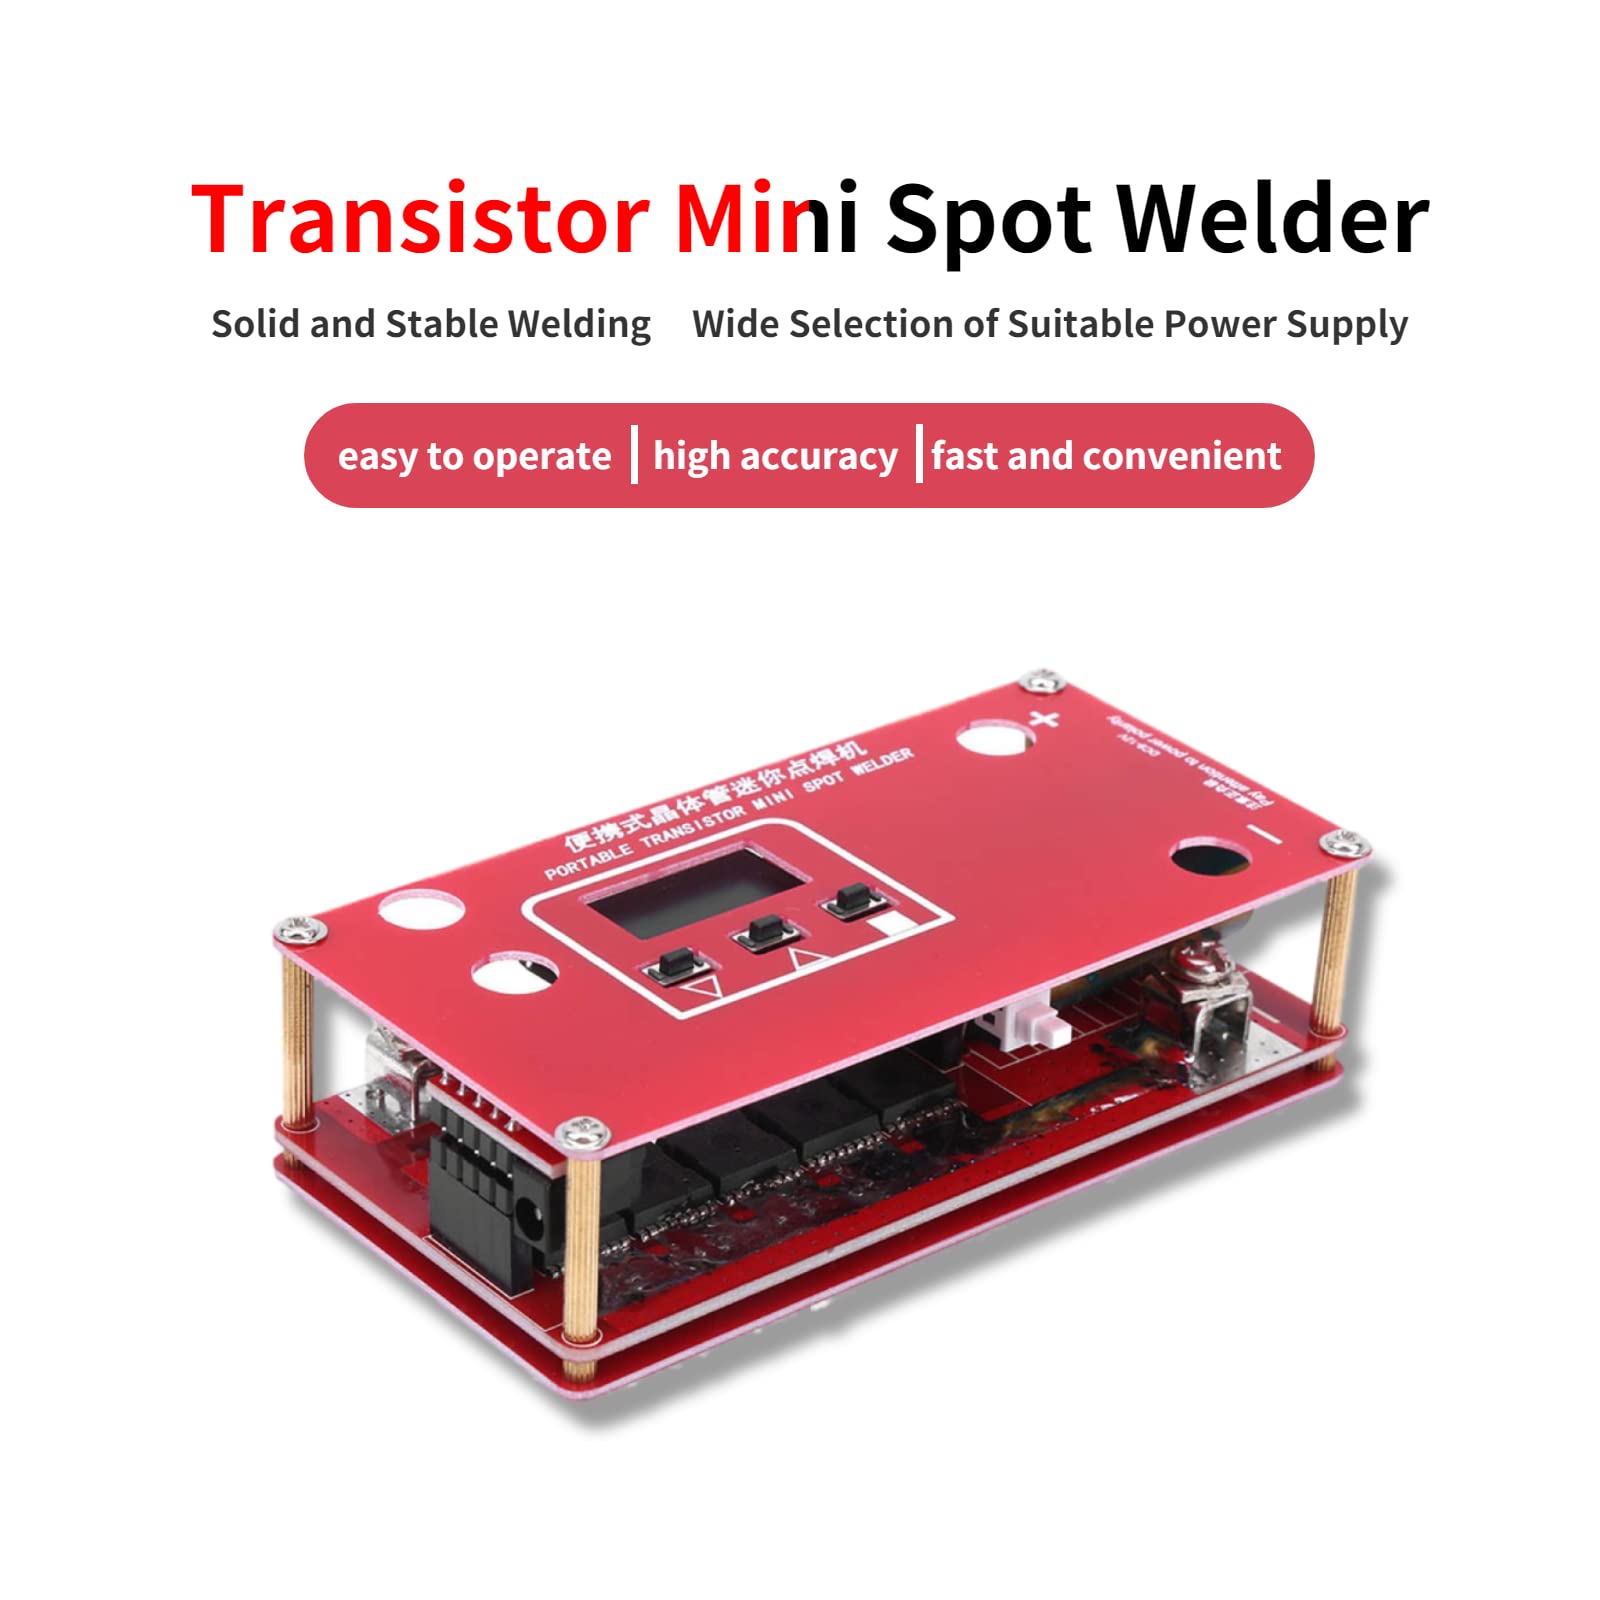
The 12V Mini Spot Welder for 18650 Battery – Automatic Control is a highly efficient and portable welding machine designed for hobbyists, technicians, and battery pack builders who require a reliable and user-friendly solution for welding lithium battery tabs. This compact yet powerful tool is specially engineered to handle 18650 lithium battery welding, ensuring durability, precision, and ease of use, making it an excellent choice for both beginners and professionals.
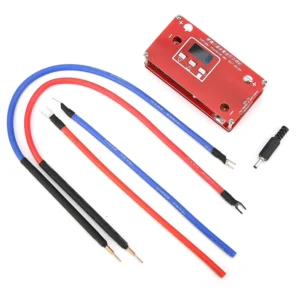
Compact and Portable Design
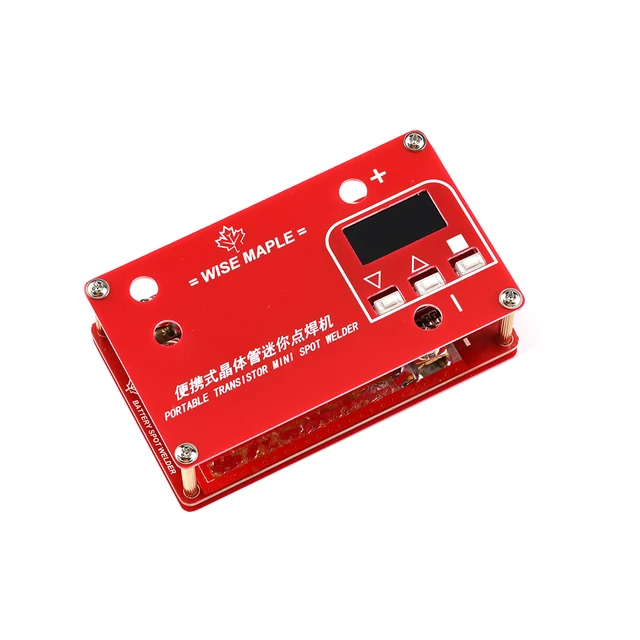
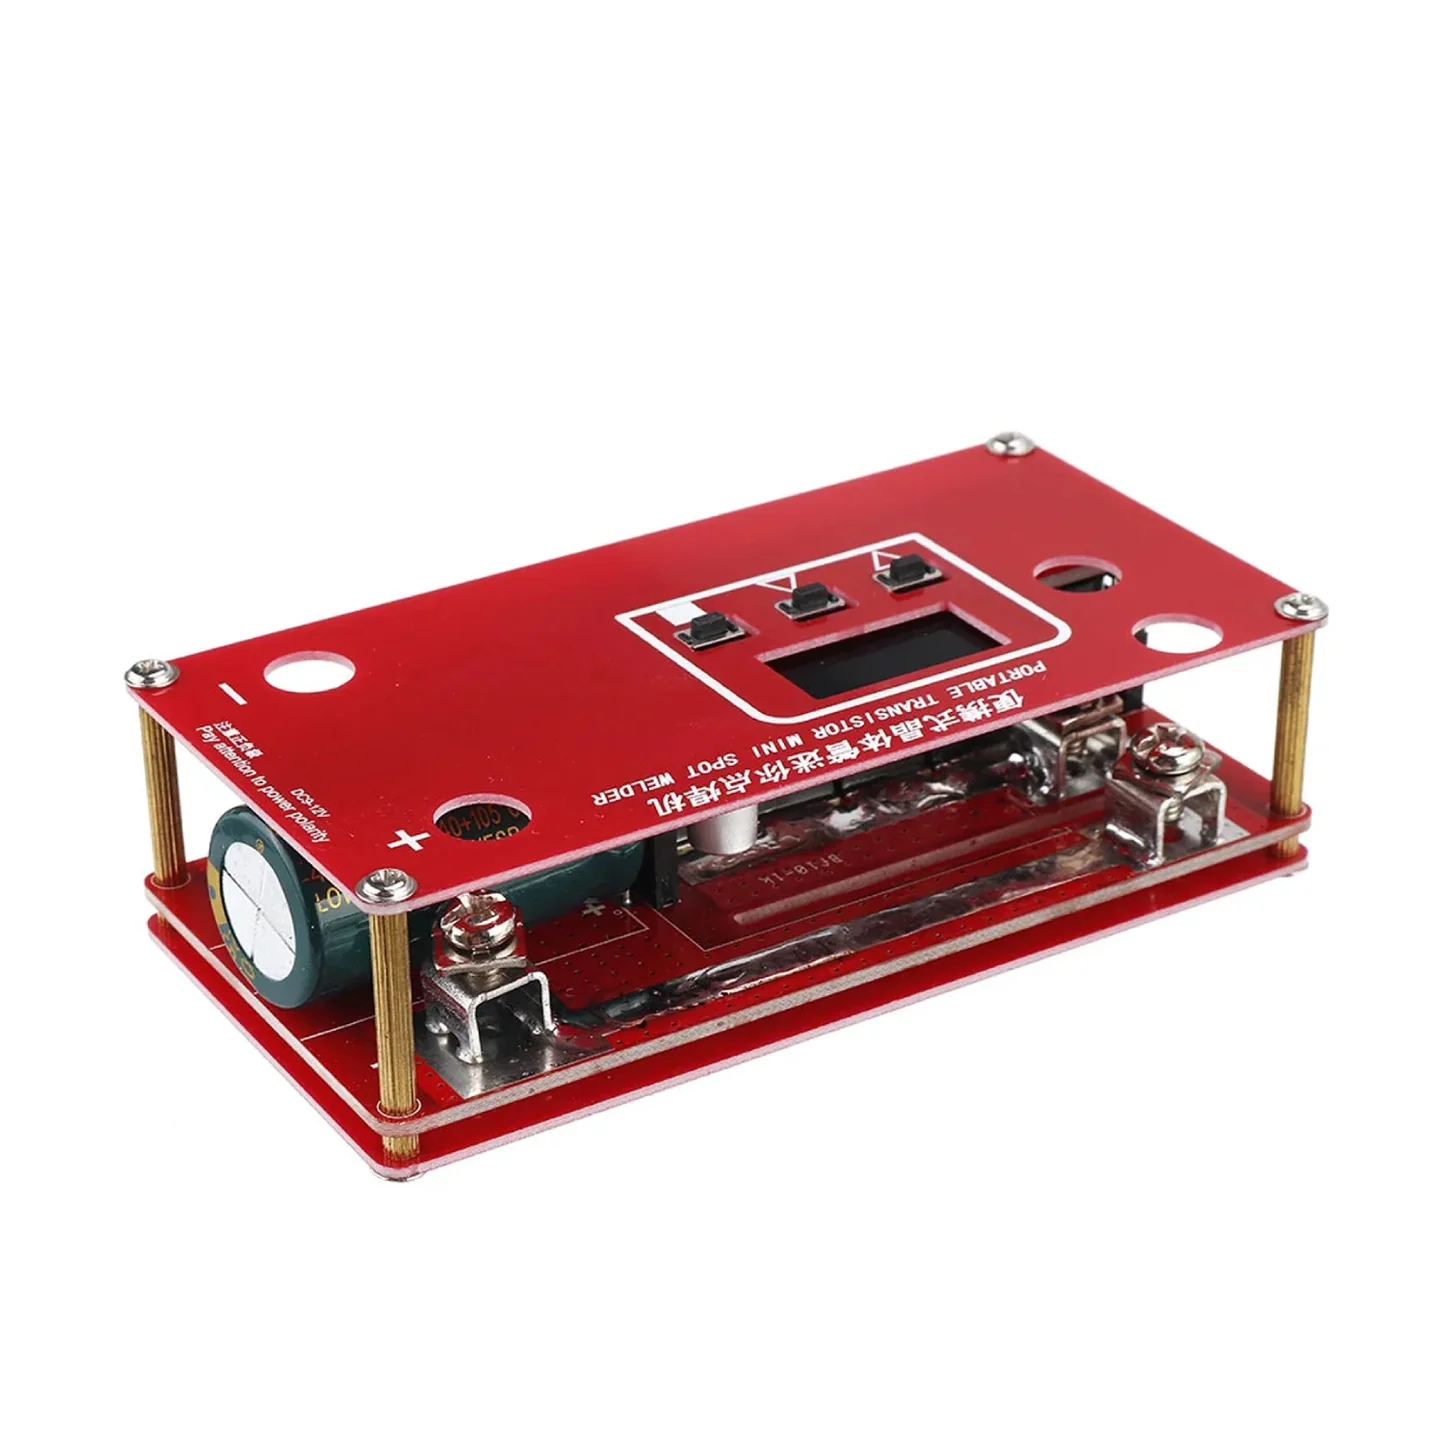
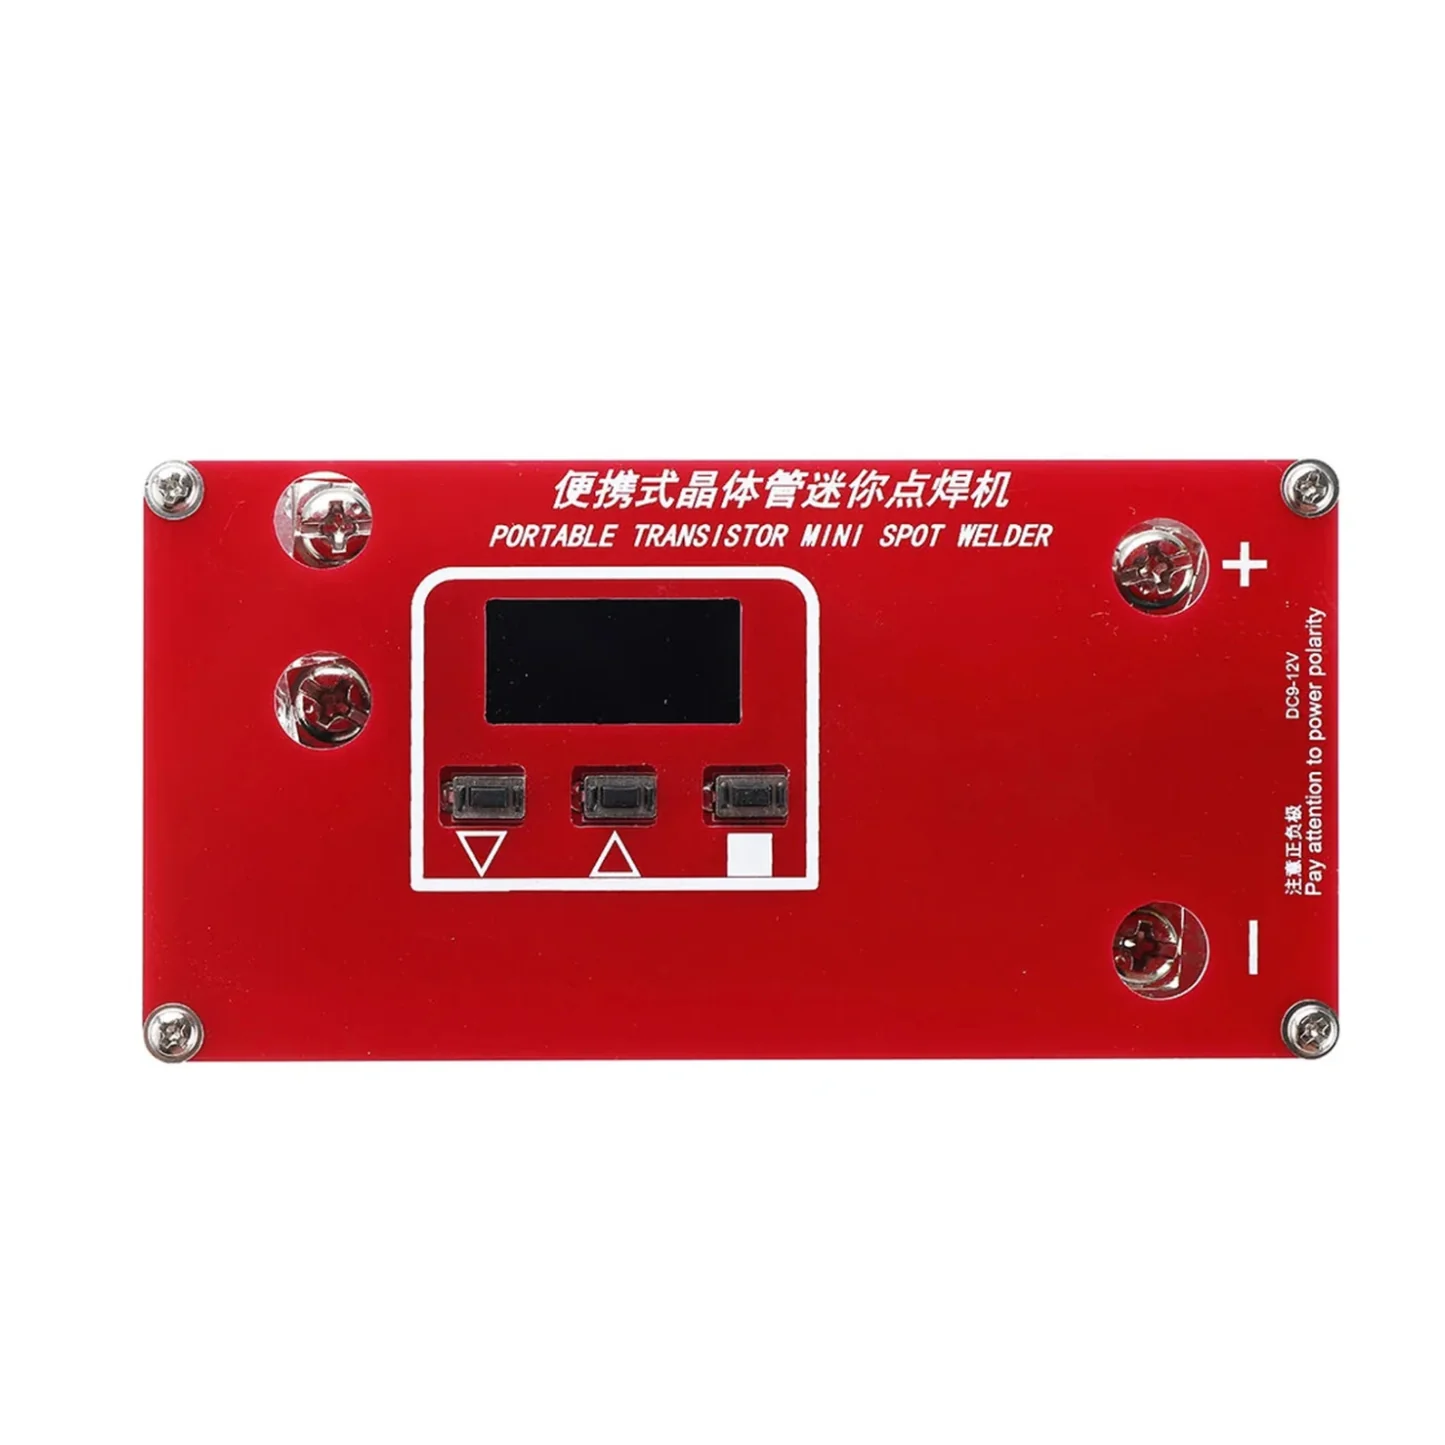
One of the main advantages of this 12V mini spot welder is its lightweight and portable design. Unlike traditional heavy welding machines, this model is small and easy to carry, making it perfect for on-the-go projects, workshops, and DIY battery pack assembly. Whether you’re working at home or need a tool that can be transported between job sites, this spot welder delivers convenience without compromising on performance.

Automatic Control Function
This model comes with an automatic control system that simplifies the welding process. Once the probes come into contact with the nickel strip and battery surface, the welder automatically activates, delivering a precise weld every time. This automation reduces errors, increases efficiency, and ensures that users can achieve consistent results without the need for extensive manual adjustments.
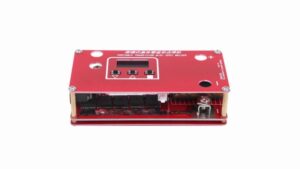
High-Quality Performance
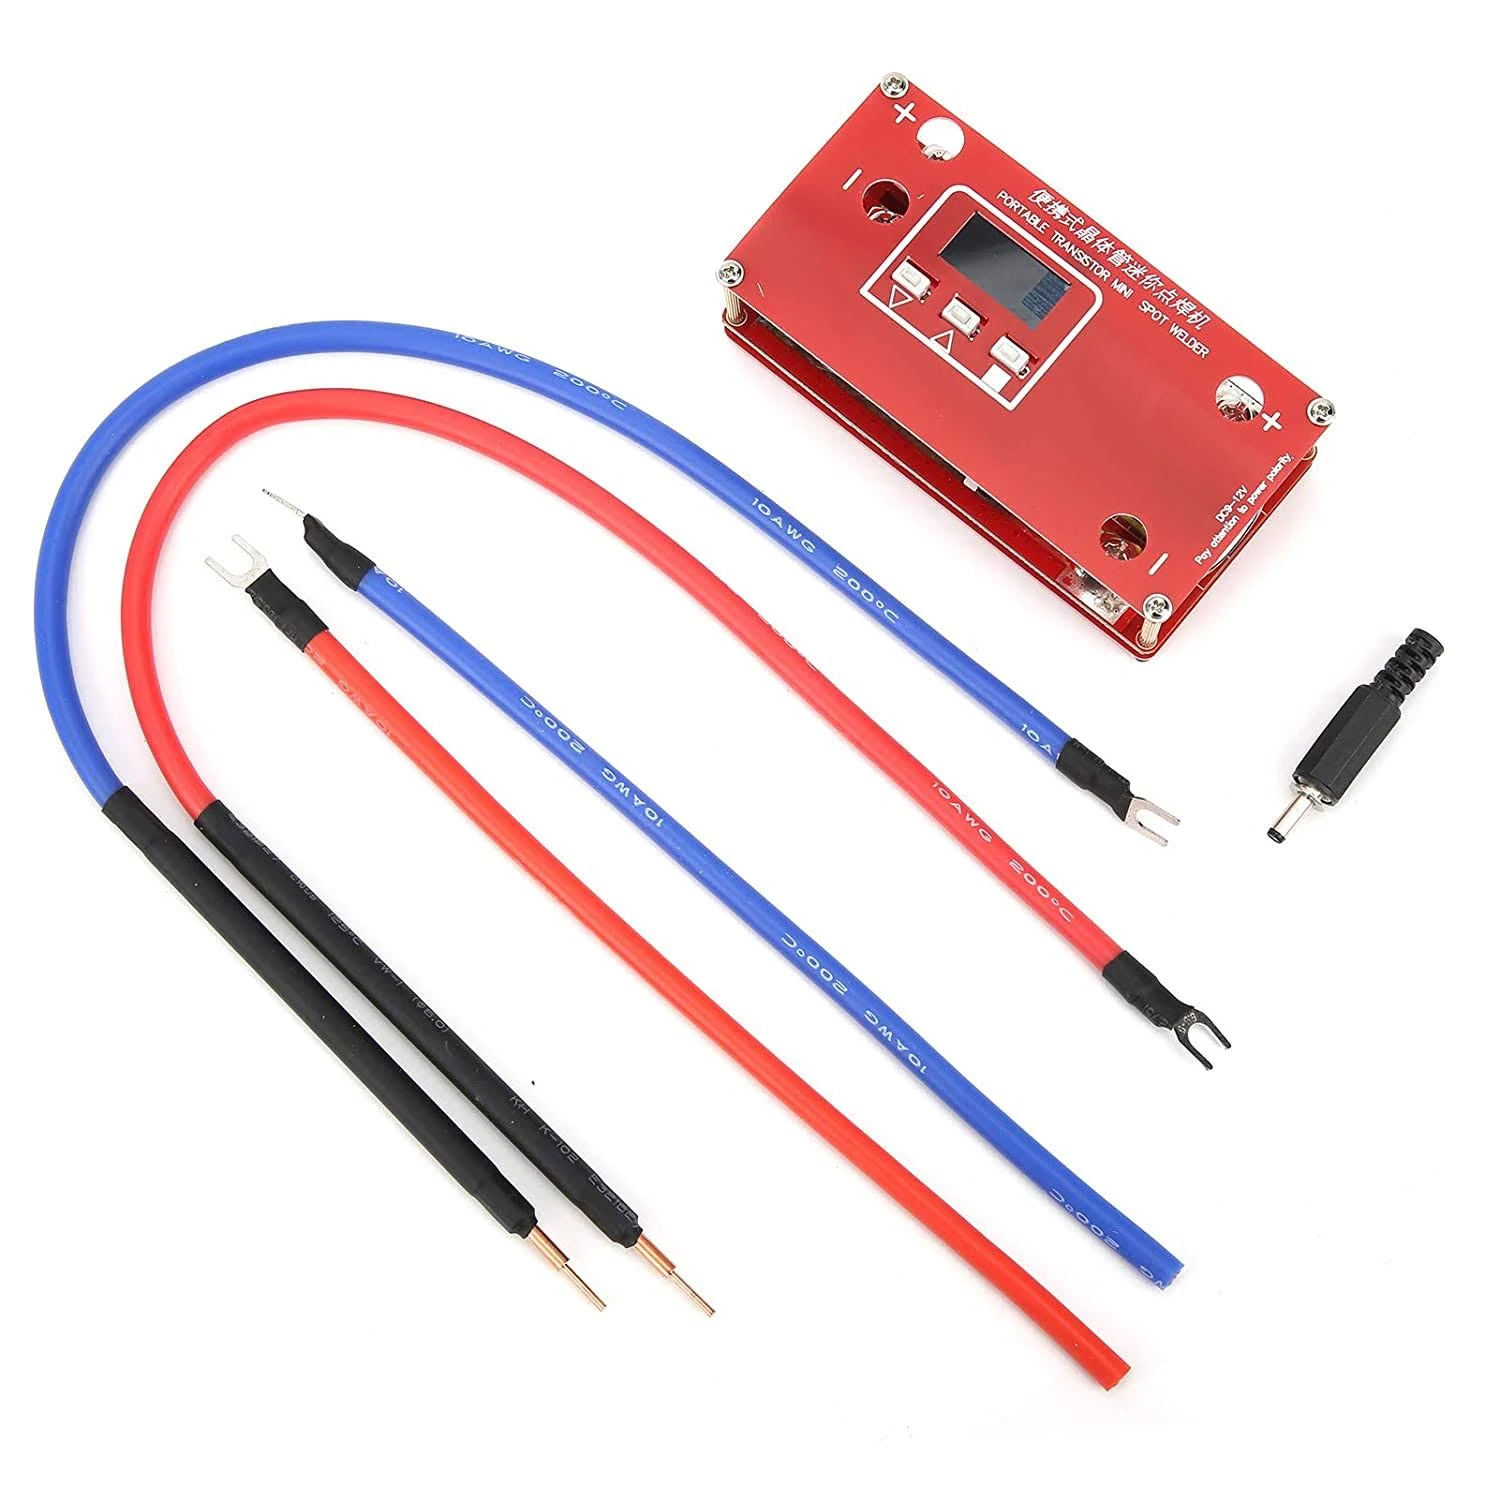
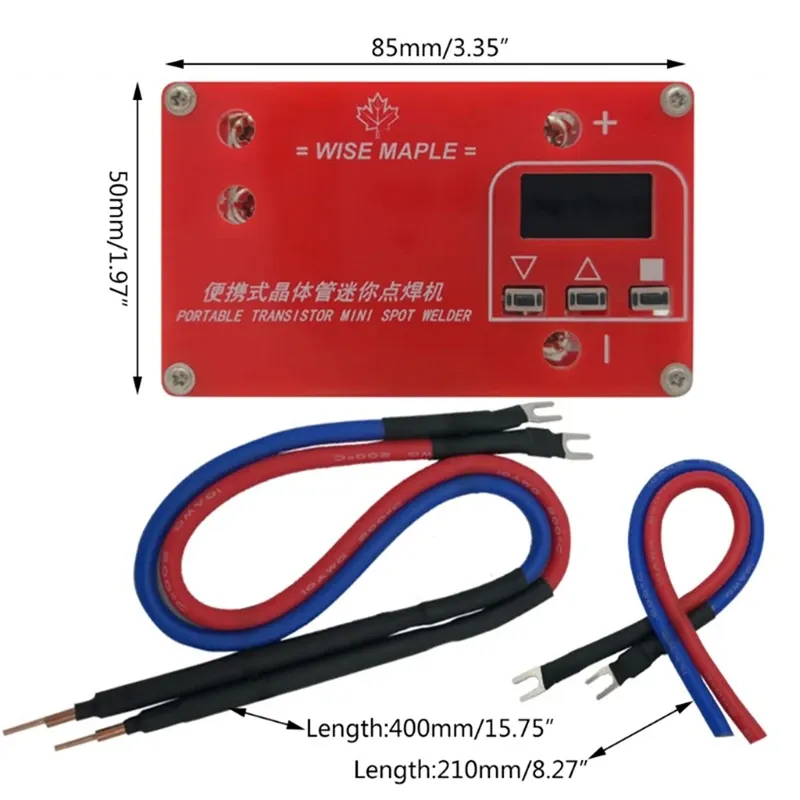
The 12V mini spot welder is built to provide reliable welding power for 18650 lithium batteries and similar cylindrical cells. Equipped with durable transistor technology, this machine ensures stable energy delivery for accurate welds. The use of 10AWG multiwire cables enhances conductivity, minimizes resistance, and ensures maximum efficiency during operation.
With its strong welding capability, it can handle various nickel strip thicknesses, commonly used in battery pack assembly. This makes it suitable not only for hobby projects but also for small-scale commercial applications.
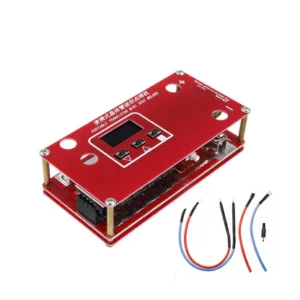
Safe and User-Friendly
Safety is a key feature of this spot welder. The automatic control system prevents accidental misfires, while the durable housing and reliable wiring reduce the risk of overheating or damage during use. The low-voltage 12V input ensures safer operation compared to larger industrial welders, making it a great choice for DIY users.
The user-friendly design requires minimal setup, meaning even beginners can start welding with confidence. Simply connect the device, position the probes, and let the automatic control do the rest.
Applications
The 12V Mini Spot Welder for 18650 Battery is widely used in:
-
DIY battery pack building for e-bikes, power banks, and RC projects.
-
Repairing or assembling lithium-ion battery packs.
-
Welding nickel strips to 18650 and similar cylindrical batteries.
-
Small workshops or electronics labs requiring a portable spot welding solution.
This versatility makes it a must-have tool for anyone working with rechargeable batteries.
Key Features
-
Voltage: 12V input for safe and reliable operation.
-
Welding Type: Designed for 18650 and lithium battery packs.
-
Automatic Control: Activates welding automatically upon contact.
-
Durable Build: High-quality transistor design ensures long-lasting use.
-
10AWG Multiwire Cable: Provides excellent conductivity and performance.
-
Portable Size: Lightweight, compact, and easy to carry.
Why Choose This Mini Spot Welder?
If you are looking for an affordable, efficient, and safe welding solution, this 12V Mini Spot Welder is the perfect choice. Its automatic control system, compact build, and reliable performance make it an excellent investment for hobbyists, students, repair technicians, and small businesses.
Unlike bulky and expensive industrial welding equipment, this mini welder gives you the freedom to complete precise welding jobs anytime, anywhere. It combines efficiency with portability, making it ideal for anyone who frequently works on 18650 lithium batteries or other small-scale battery welding projects.
Additional information
| Dimensions | 10 × 5 cm |
|---|

