

Build a Line-Following Robot from Scratch: TCRT5000, MG946R Servo, and Robot Arm Acrylic Kit Explained
Introduction
Ever dreamed of building a robot that can follow a line on its own? It's not just a cool science fair project—it's a fantastic way to learn about sensors, motors, and control systems. In this guide, we'll walk you through building a line-following robot from scratch using three key components: the TCRT5000 tracking sensor, the MG946R high-torque servo, and an acrylic robot arm kit. Whether you're a beginner or a seasoned maker, this project is a blast to build and tweak. Let's dive in!
Why a Line-Following Robot?
Line-following robots are a classic entry point into robotics. They use infrared sensors to detect a line (usually black on white) and adjust their movement to stay on track. It's a hands-on way to understand feedback loops, motor control, and sensor calibration. Plus, you can expand the basic design by adding a robot arm for extra functionality—like picking up objects along the way!
Components You'll Need
Before we start building, let's gather the essential parts. Here are the star components we'll focus on, all available at Electra Store:
- TCRT5000 Tracking Line Follower Sensor (3 Channels) – This sensor module uses infrared light to detect lines. With three channels, it gives you more precise tracking and better handling of curves.
- MG946R 180° High-Torque Metal Gear Servo Motor – A powerful servo that can handle the torque needed for moving robot arms or steering mechanisms.
- Robot Arm Acrylic With 4 motor servo – A complete acrylic kit that includes four servos, perfect for adding a manipulator to your robot.
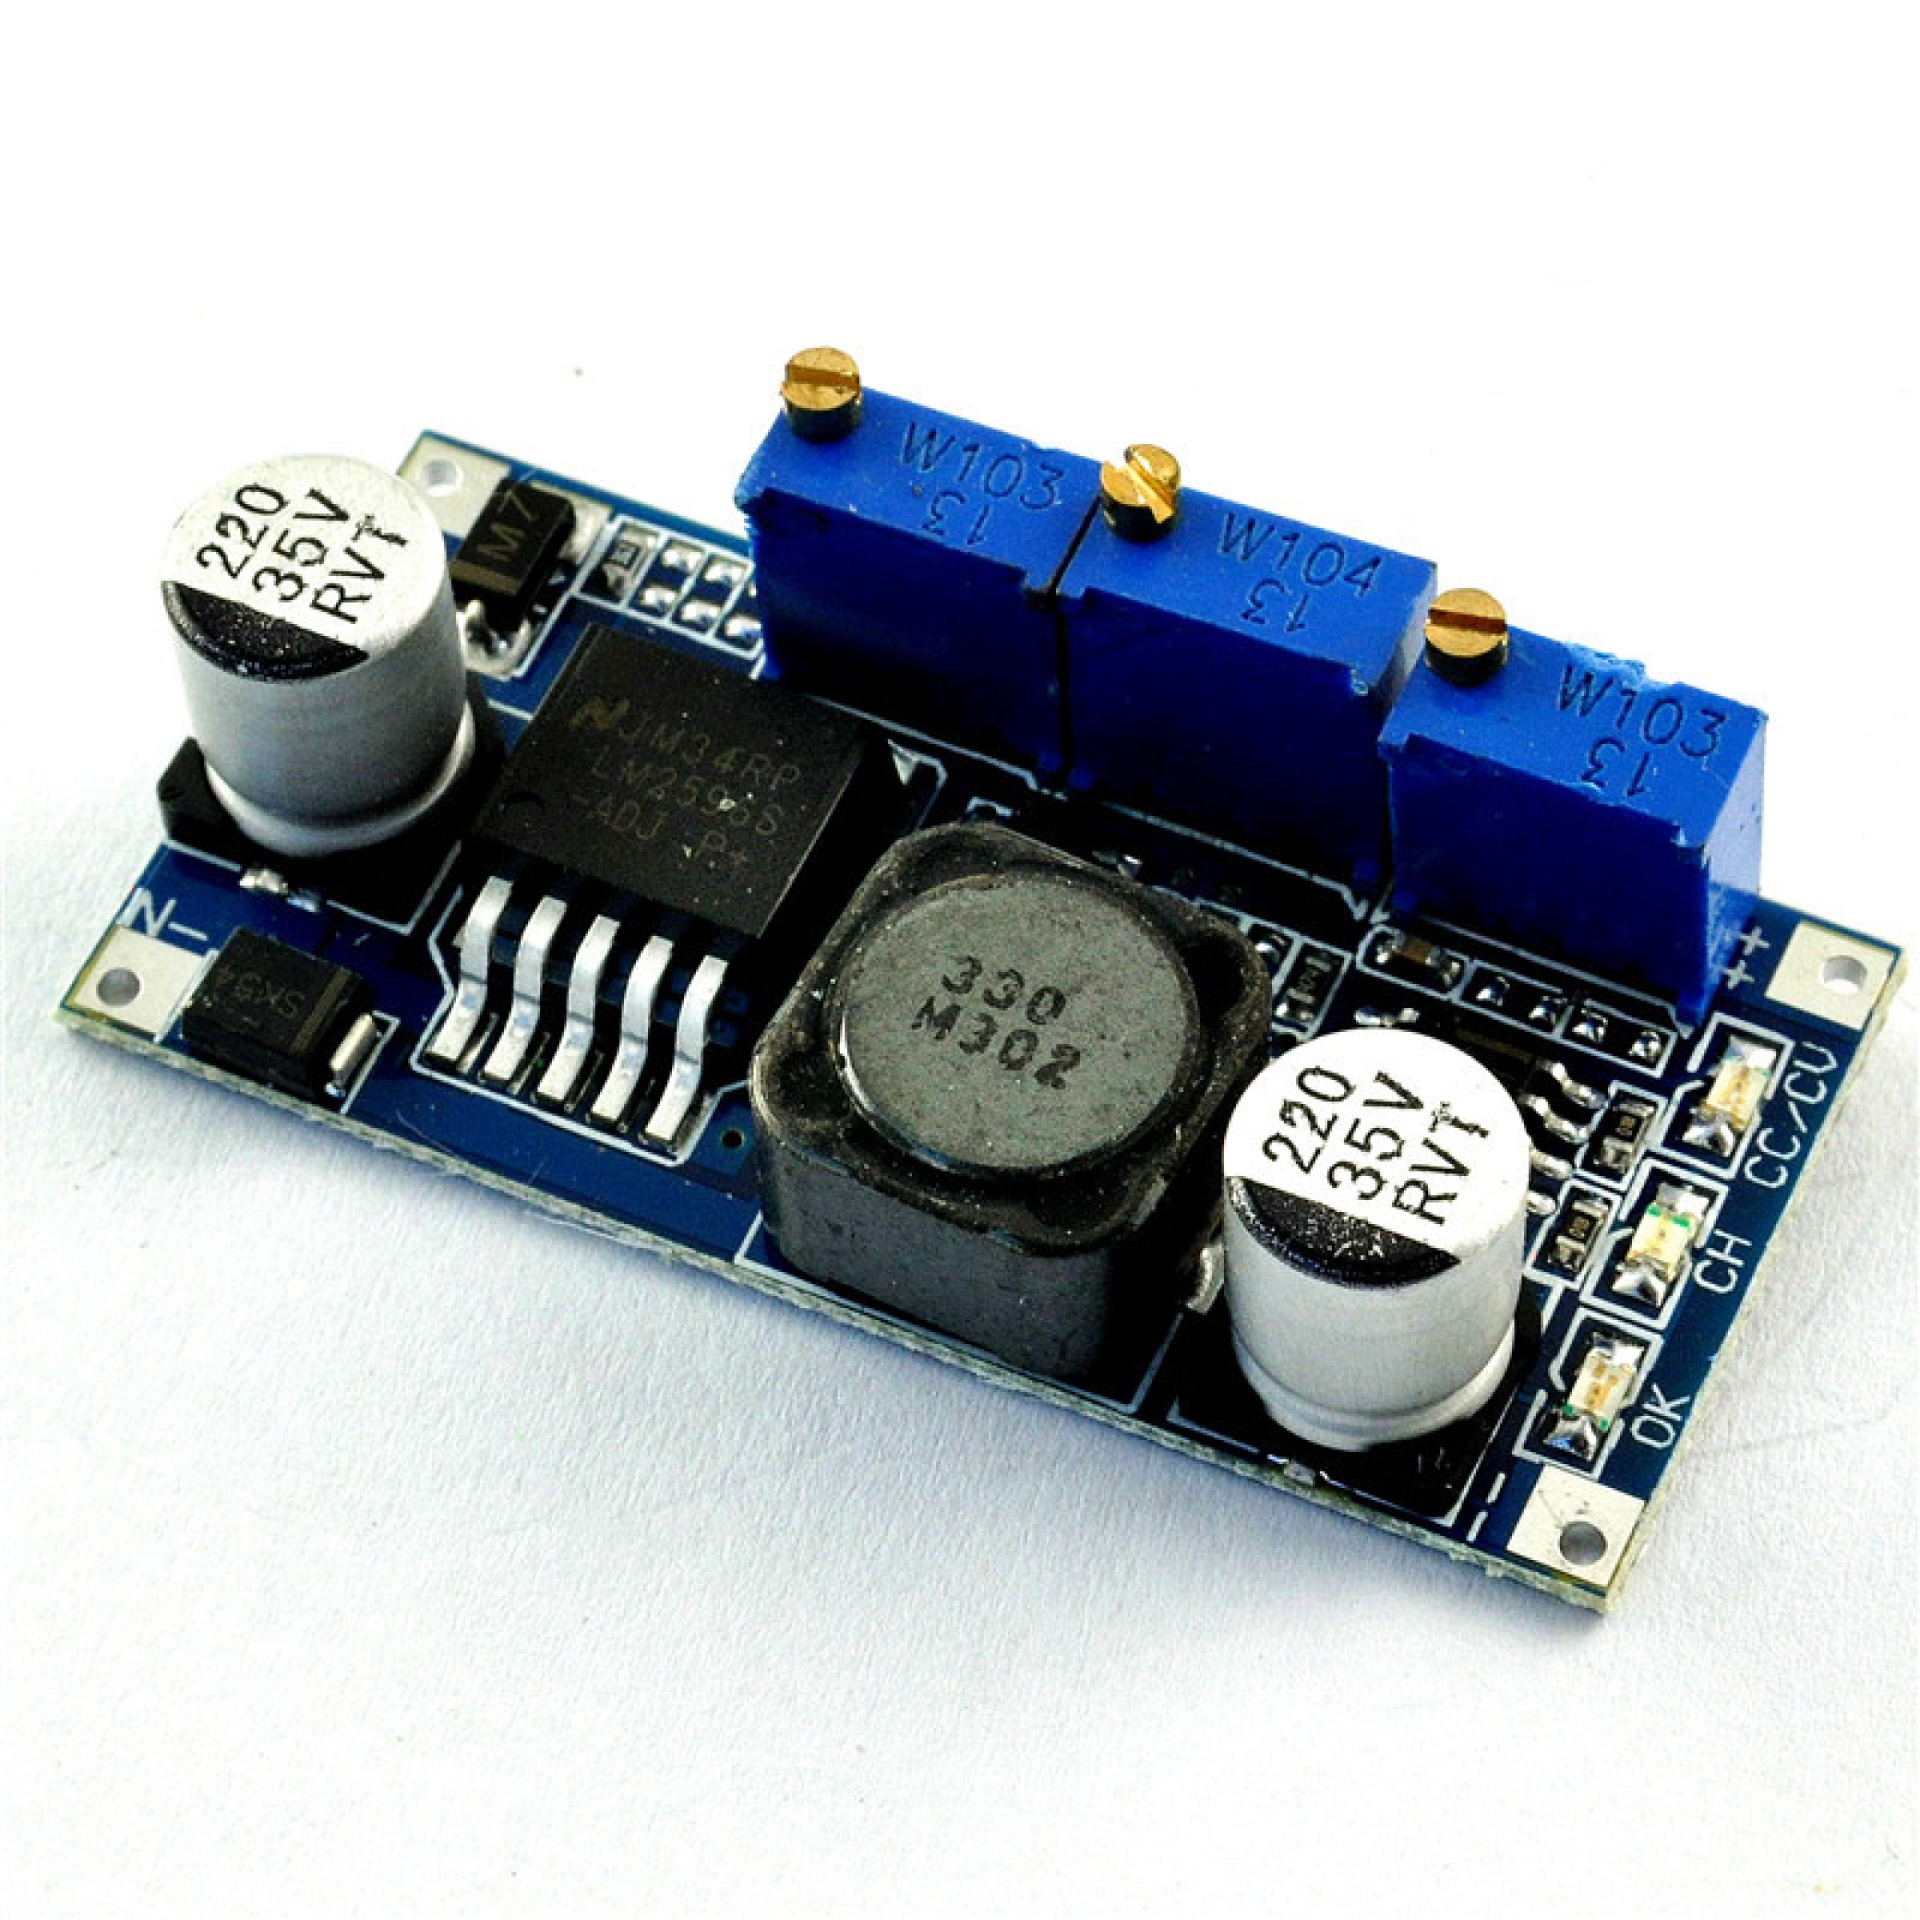
- LM2596S DC-DC Converter 3A Step Down Module – This voltage regulator ensures your electronics get a stable power supply, which is crucial for reliable sensor readings and servo operation.
You'll also need a microcontroller (like an Arduino), a chassis with wheels and motors, a battery pack, and jumper wires. But the four items above are the heart of this project.
Step 1: Assemble the Chassis and Motors
Start by assembling your robot's base. If you don't have a chassis, you can build one from acrylic or even cardboard. Attach the drive motors and wheels. For precise steering, you might use the MG946R servo to control the front wheels, but for a simple line follower, differential steering with two motors is more common. We'll cover both approaches.
Step 2: Mount and Wire the TCRT5000 Sensor
The TCRT5000 3-channel line follower sensor is the eyes of your robot. Mount it at the front of the chassis, facing down toward the floor. The sensor has three pairs of IR emitter/receiver—typically, the middle sensor follows the line while the outer ones detect deviations. Connect the sensor's outputs to your microcontroller's digital pins. Most modules output a digital signal (HIGH or LOW) based on whether the sensor sees a reflective surface (white) or not (black).
Tip: Calibrate the sensor by adjusting the potentiometers on the module until the LEDs indicate correct detection on your track. Test on both black and white surfaces.
Step 3: Power Supply with LM2596S
Reliable power is key. The LM2596S DC-DC step-down converter takes your battery voltage (e.g., 12V) and steps it down to a stable 5V or 6V for your microcontroller and sensors. This prevents voltage spikes and ensures consistent performance. Adjust the output voltage using the onboard potentiometer before connecting your electronics.
Step 4: Add the Robot Arm (Optional but Awesome)
Want to take your line follower to the next level? Add a robotic arm! The Robot Arm Acrylic With 4 motor servo is a fantastic kit that includes everything you need to build a functional arm. The acrylic parts are precise and easy to assemble, and the four servos give you shoulder, elbow, wrist, and gripper movement. You can mount it on your robot's chassis and program it to pick up objects along the line.
For the arm's joints, consider upgrading to the MG946R 180° high-torque metal gear servo for the heavier joints like the shoulder. Its metal gears provide durability and strength, ensuring your arm can lift small objects without straining.
Step 5: Programming the Line Follower
Write a simple control loop: read the sensor values, then adjust motor speeds accordingly. If the middle sensor detects the line, go straight. If the left sensor detects the line, turn left; if the right sensor detects it, turn right. Use PWM to control motor speed. If you added an arm, you can trigger arm movements when specific conditions are met (e.g., when the robot stops at a marker).
Tips for Success
- Sensor Placement: Keep the sensor close to the ground (about 1-2 cm) for accurate readings.
- Track Design: Use black electrical tape on a white surface for a high-contrast line. Avoid sharp turns initially.
- Power Management: Use a separate battery for motors and electronics if you experience resets. The LM2596S helps here.
- Servo Power: Servos can draw significant current; ensure your power supply can handle it, or use a separate regulator for the servos.
- Calibration: Always calibrate sensors and test incrementally.
Conclusion
Building a line-following robot from scratch is a rewarding project that teaches you valuable skills in electronics, mechanics, and programming. With the TCRT5000 sensor, MG946R servo, and acrylic robot arm kit, you have a solid foundation to create something impressive. Remember, the key is to start simple and iterate. Ready to start building? Head over to Electra Store to grab these components and more. Happy building!